Guide to Growing Pumpkins and Squash in Your GardenUpdated 5 days ago
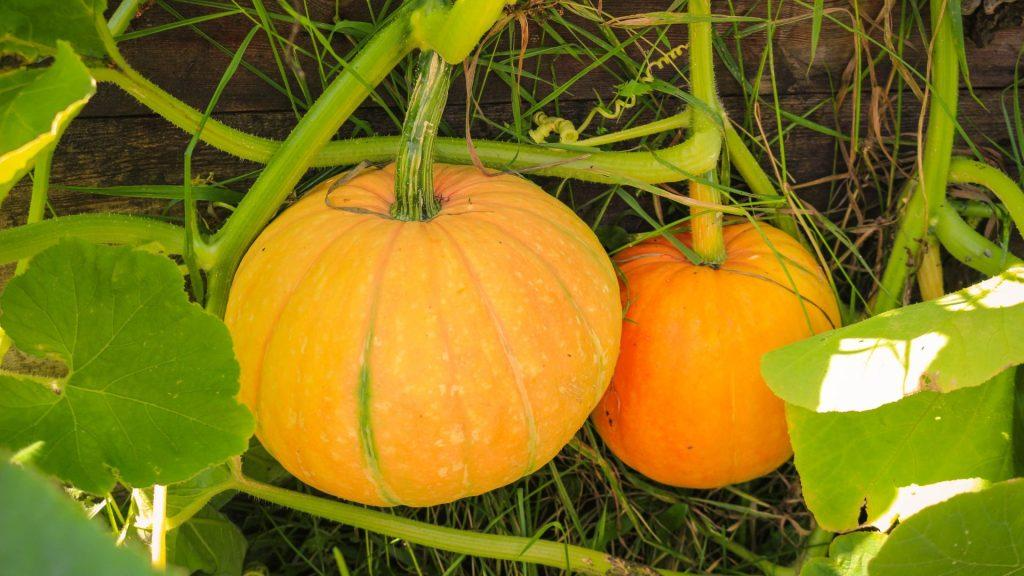
Pumpkins are the most famous winter squash grown in a UK garden. Primarily associated with Halloween lanterns, the insides of these hard orange squashes contain sweet orange flesh, commonly used in seasonal baking. Pumpkins are typically in season from October to December, making them one of my favourite seasonal fruits. Follow along as I take you through pumpkin growing and give you some of my best tips on growing your pumpkins and squash in the garden. Don’t forget to read this article about pumpkin decorating here.
Pumpkin Growing Stages
Pumpkins are relatively easy to grow, but understanding the growing stages can make it much easier and reduce the issues. I wish I had known the different pumpkin stages when I started growing my pumpkins, so here is a speedy rundown of the various stages, from sowing the seed to harvesting a luscious pumpkin.
1: Germination
- Timeframe: 5-10 days
- What happens: Tiny green seedlings push through the soil.
- Conditions needed: Soil temperature between 15°C and 26°C.
- Actions:
- Plant seeds 1 inch deep in well-draining soil.
- Water the soil consistently to keep it moist but not waterlogged.
- Ensure the soil temperature is within the required range.
2: First Leaves
- What happens: Small oval-shaped leaves (embryonic leaves) appear.
- Purpose: Provide nutrients to the developing plant.
- Actions:
- Continue to water the seedlings regularly.
- Make sure the seedlings are getting plenty of sunlight.
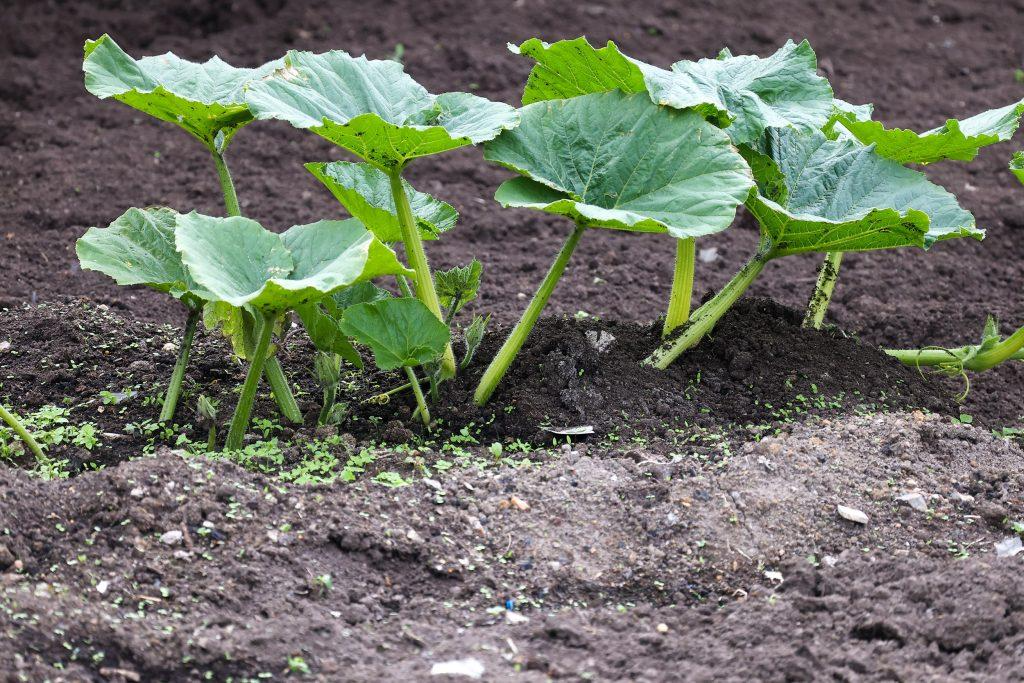
3: True Leaves
- Timeframe: About a week after the first leaves
- What happens: True leaves grow from the centre of the stem.
- Care needed: Ensure ample sunlight and regular watering. Thin or transplant seedlings if crowded.
- Actions:
- Water the plants regularly to keep the soil consistently moist.
- Provide at least 6 hours of direct sunlight daily.
- Thin out seedlings if they are too close together, or transplant them to give each plant more room to grow.
4: Vine Growth
- What happens: Vines start forming and can grow up to six inches daily.
- Care needed: Provide space for vines to spread. Trim vines to direct energy to fruit development.
- Actions:
- Ensure the plants have plenty of space to spread out (at least 5-6 feet between plants).
- Guide the vines to grow in the desired direction by gently repositioning them.
- Trim the tips of the vines if they become too long or to encourage more side shoots.
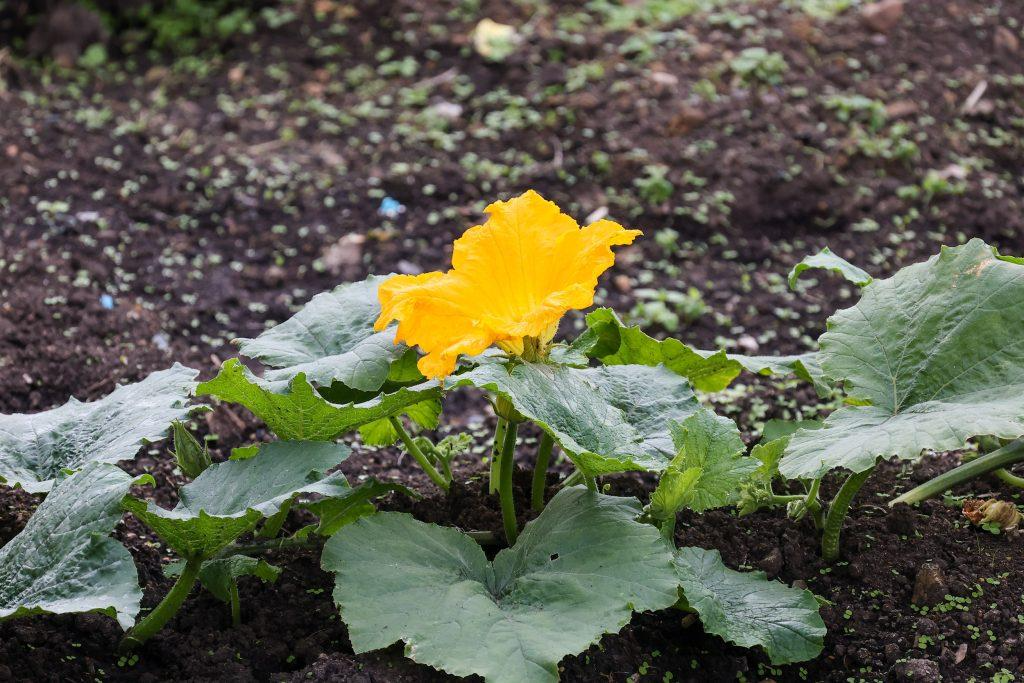
5: Blossoms
- Timeframe: 8-10 weeks after planting
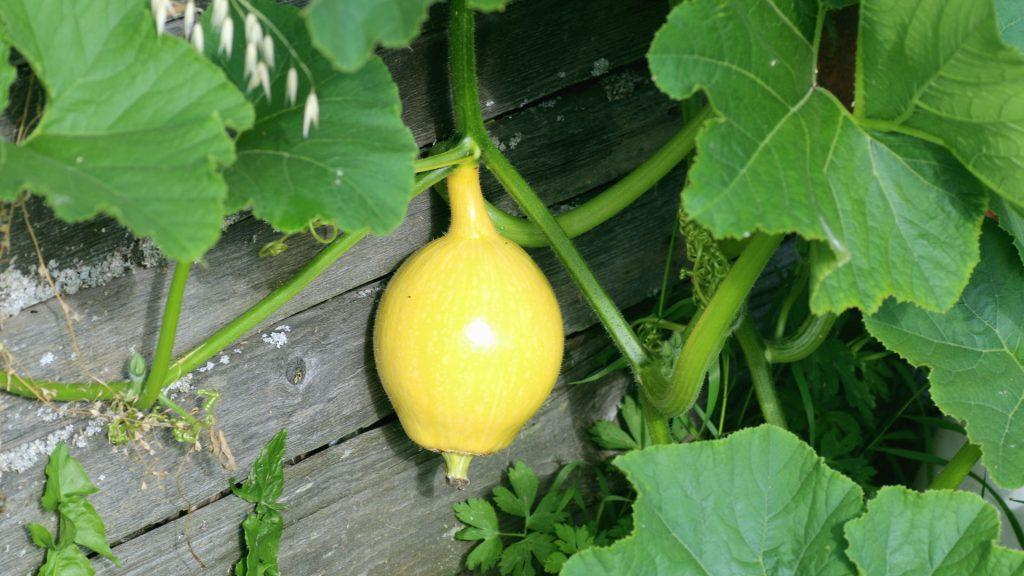
- What happens: Bright yellow blossoms appear.
- Note: Male blossoms appear first, followed by female blossoms about 10 days later.
- Actions:
- Look for the first male flowers on long, thin stems.
- Female flowers with a small bulb at the base will appear about 10 days later.
- Ensure the plants are still getting enough water and sunlight.
6: Pollination
- What happens: Bees pollinate the female blossoms.
- Care needed: Ensure plants get enough water. If no fruits form, consider hand pollination.
- Actions:
- Attract bees by planting flowers nearby or using a bee house.
- Water the plants thoroughly, especially during dry spells.
- If fruits don’t form, use a small paintbrush to manually transfer pollen from male to female flowers.
7: Fruits Appear
- What happens: Tiny pumpkins form.
- Timeframe: It takes about two months to mature and ripen.
- Care needed: Water regularly and turn pumpkins for even sun exposure.
- Actions:
- Keep the soil consistently moist as the pumpkins grow.
- As the pumpkins enlarge, gently turn them occasionally to ensure even sun exposure.
- Remove any weeds that compete with the pumpkins for nutrients.
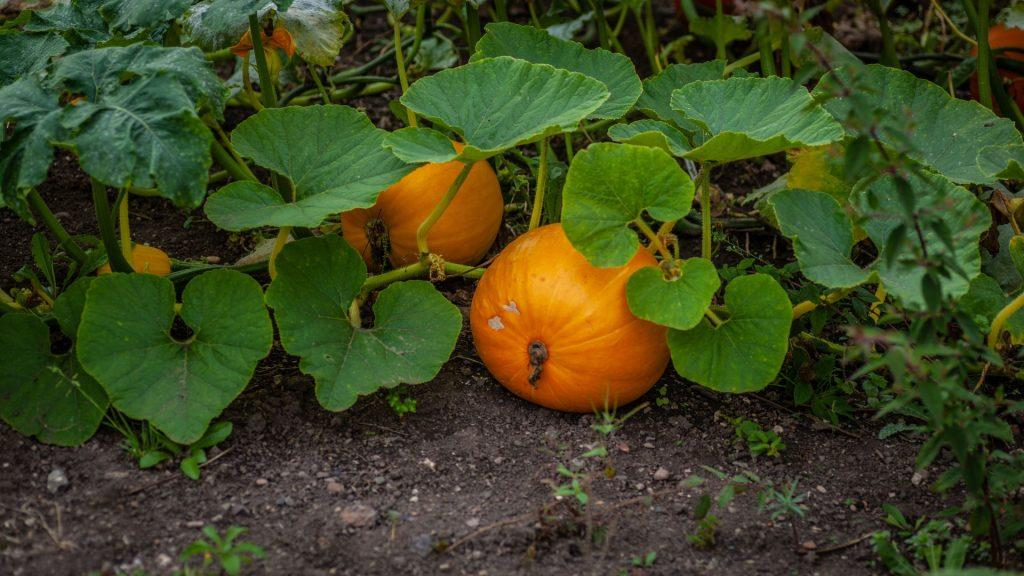
8: Ready to Harvest
- What happens: Vines wither, and pumpkins change colour (usually too orange).
- How to tell: Pumpkins sound hollow when lightly thumped. They may continue to ripen after picking.
- Storage: Keep harvested pumpkins in a cool, dry place.
- Actions:
- Check that the pumpkins have a hard shell and a uniform colour.
- Cut the pumpkin from the vine with a sharp knife, leaving a few inches of stem attached.
- Store the pumpkins in a cool, dry, and well-ventilated area.
- Avoid placing pumpkins on a hard surface; use straw or cardboard to prevent bruising.
How to Choose Your Pumpkin & Squash Variety
The first hurdle in growing your own pumpkins is choosing which variety to grow. There is an almost endless selection of traditional orange pumpkins in different sizes. I find that the smaller to medium-sized pumpkins are best grown for baking, whilst the larger pumpkin varieties are ideal for carving up a Halloween display. You will also have to consider that some varieties are vigorous trailing plants that spread out for several meters, and some are bush varieties that stay relatively compact.
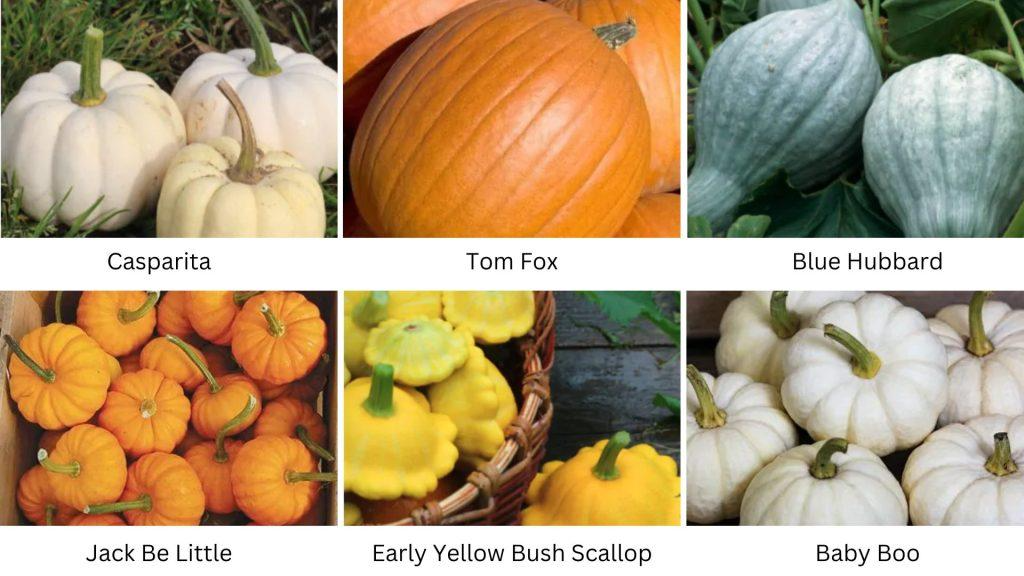
My Top 6 Pumpkin & Squash Varieties to Grow:
- Pumpkin ‘Casperita’ – For a change to traditional orange pumpkins, these pumpkins are ideal for baking, roasting, and decorating because of their tender, sweet flesh.
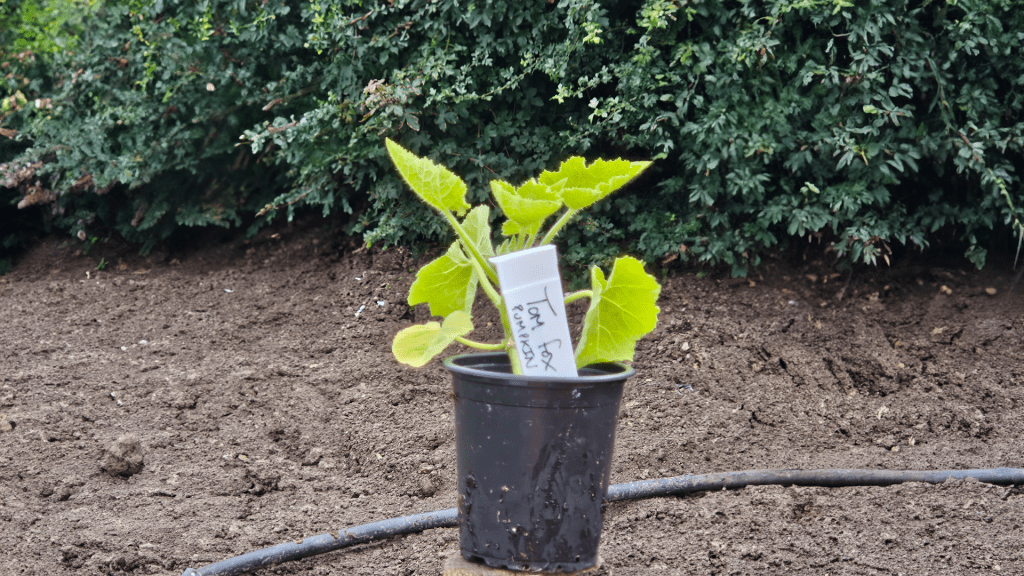
- Pumpkin Tom Fox—Halloween Pumpkin – When I think of this pumpkin variety, I consider it the traditional Halloween pumpkin, which is well-ribbed and deep orange in colour. These pumpkins can be scooped and cooked in soups or other festive treats.
- Squash ‘Blue Hubbard’ – Characterised by its large, teardrop-shaped fruits with a striking blue-grey rind. It boasts dense, sweet orange flesh, ideal for roasting, baking, and making soups.
- Pumpkin Jack be Little – As its name suggests, this variety of pumpkin produces charming small to medium-sized round orange fruits. Perfect for serving pumpkin soup after the flesh is used, they yield a crop in late summer and autumn. This variety can also be grown effectively in large containers or grow bags.
- Squash ‘Early White Bush Scallop’ and squash ‘Early Yellow Bush Scallop’ are charming varieties with small, round, scalloped fruits. Their mild, slightly sweet flavour makes them perfect for stuffing, grilling, and sautéing. They are highly productive and mature quickly, providing an abundant harvest throughout the summer.
- Pumpkin Baby Boo – Producing beautiful all-white small pumpkin fruits, this miniature pumpkin trailing variety is best for being used in baking or as Halloween decorations. This variety can also be grown in large containers or grow bags.
Growing Pumpkins: A Step-by-Step Guide
With adequate sunlight and water, pumpkins can be an enjoyable and straightforward plant to kickstart your vegetable garden. By autumn, you could have a harvest of colourful pumpkins perfect for Halloween. Pumpkins are started from seeds sown indoors in spring and planted in late spring or early summer. Squash and pumpkins require lots of space to grow if they are sprawling plants, and they all need a long, hot growing season to mature and ripen fully.
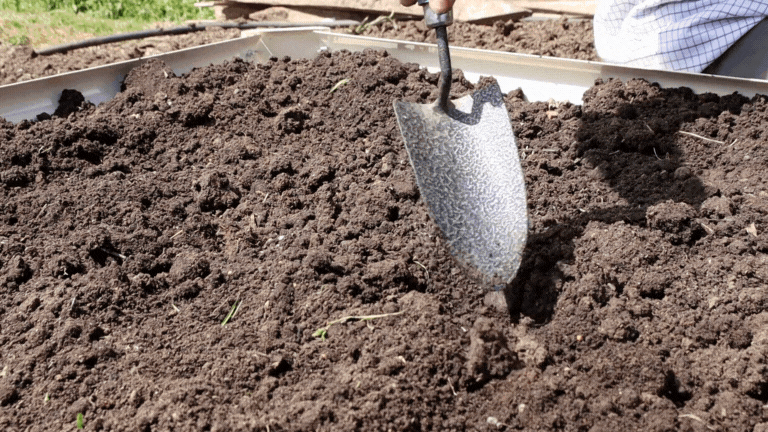
Prepare the Ground
The first step, and in my opinion, the most crucial to get right, is preparing the ground for where you will plant your pumpkins. You need to be selective about where you plant your pumpkins, as they will need lots of space and be in a location that gets lots of sunlight during the day and is sheltered from the wind.
The soil needs to be fertile and moisture-retentive but not waterlogged. I recommend doing a pH test in early spring after the frost has cleared. This will give you enough time to improve the soil before you plant your squash. You should also consider how you will space out your plants, including any companion plants you intend to plant. Your pumpkins must be planted 30cm wide and deep, filled with a mix of soil and homemade compost or well-rotted manure. It won’t hurt to plan with the fertiliser you intend to use; if you are growing other plants around your pumpkins, a general all-purpose fertiliser will be best.
Sowing Pumpkin Seeds Indoors
Mid-to-late April is the perfect time to start sowing your pumpkin seeds indoors. Sow your pumpkin seeds in bio-degradable plant pots filled with multi-purpose compost. Place one seed flat on their sides into each plant pot, putting them 1cm deep into the pots. Once planted, place the pots into a heated propagator at 18-21°C or put them by a warm, bright windowsill covered with a clear polyethene bag to retain moisture, which can be removed once the seeds germinate. Ensure to water the seedlings regularly and keep them in bright light until they are ready to be planted outside.
Sowing Outdoors
If you missed the window to sow your seeds indoors, you can sow them outdoors in late May or early June. If you have already prepared the sowing site, plant 3 seeds per hole spaced 90cm apart for bush varieties and 120cm apart for trailing varieties. Keep the soul warm for a few weeks before and after sowing by covering the ground with polyethene sheeting, cloches or fleece blankets. Be sure to water regularly and keep watch for pesky slugs and snails that may cause problems. If all the seeds germinate for each planting hole, you can thin out the weaker seedlings, leaving the strongest to grow.
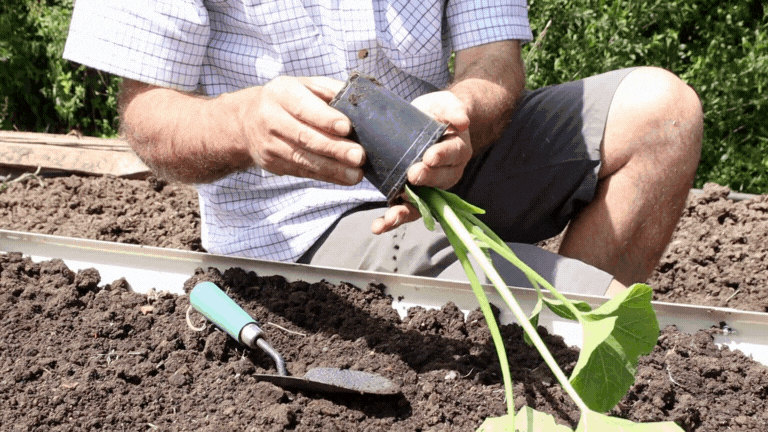
Planting Out
If you have not started sown your pumpkin or squash seeds by mid-to-late June or they have not germinated, you can easily purchase a pumpkin plant so that you don’t miss out on growing your own pumpkin harvest. Once your indoor-sown pumpkins have started to germinate, it is time to prepare them for planting out. I recommend placing them in a cold frame or greenhouse to slowly acclimatise to the temperature for a week before you want to plant them outdoors.
Once you have your plants ready, plant young squash plants into your prepared ground, being careful not to disturb the plant roots. Make a hole slightly bigger than your plants so that you can surround them with a mix of equal parts soil and multi-purpose compost. Gently firm your plants into place and water them. Ensure you have a 90-120cm gap between your plants and protect them from snails and slugs as they grow.
Can You Grow Pumpkins in a Container?
Technically, you could grow pumpkins in a container, but I have found that the results often vary. You must think carefully about where you place the container, as a potted pumpkin vine still spreads a lot. You won’t be able to grow a pumpkin for Halloween carving in a container, but small pumpkins and squash intended for baking can be grown in these conditions.
A potted pumpkin can be a lot of work, but decorating your patio or garden will look fantastic. You will need a large pot (38 litre minimum) with generous drainage holes. I don’t recommend a glazed container as it often leads to excess moisture buildup. Check out this great video by Toward Garden that shows how to grow mini pumpkins in containers.
How to Grow a Pumpkin in a Pot
Once you have decided on a container, a good soil mix will be your friend. If you purchase potting soil, I recommend one designed for fruit and vegetables. You can also mix your own using equal parts native soil and multi-purpose compost.
With your container ready and your compost chosen, you only need to decide on a pumpkin variety. For this, you will probably want to purchase a pre-started pumpkin. Some miniature pumpkins to try include ‘Baby boo‘ and ‘Jack be little‘.
Caring for a Pumpkin in a Container
Use a slow-release fertiliser worked into the soil to support your plant during the growing season. To help manage the growth, train the vine up a sturdy fence or trellis. Harvest your squash and pumpkins when the vine begins to die back.
Tips for Pumpkin and Squash Plant Care
- Watering: Pumpkins need lots of water, but you must be mindful of any water pooling around the plant, as this can cause rot.
- Mulching: Applying a thick layer around your plants will help them retain soil moisture but leave a gap around the base of the plant stem to avoid dampness, which can lead to rot.
- Feeding: When the first fruit appears, you should start feeding them with a high-potassium liquid fertiliser like tomato feed. This can be done every 10 to 14 days.
- Fruit care: Developing fruits that touch the damp soil can cause rot. To prevent this, place a tile, brick or piece of wood between the fruit and the soil. You should also ensure the fruit is exposed to full sunlight to aid ripening.
- Growing larger fruits: If you want larger pumpkins, limit the number of fruits to two or three per plant. For giant pumpkins, keep only one fruit on the plant, removing any additional flowers or fruits to help direct the plant’s energy into the remaining fruit.
- Pruning and training: If you have enough space, let the plants sprawl across the ground. However, if you have limited space, you can train the stems in a large circle using short canes for support or prune any stems that exceed the boundary. Trailing varieties can be trained up sturdy supports, so long as they can support the weight of the plant and fruits. To support the weight of the fruit, use some netting to support each individual fruit.
Tips on Harvesting Pumpkins
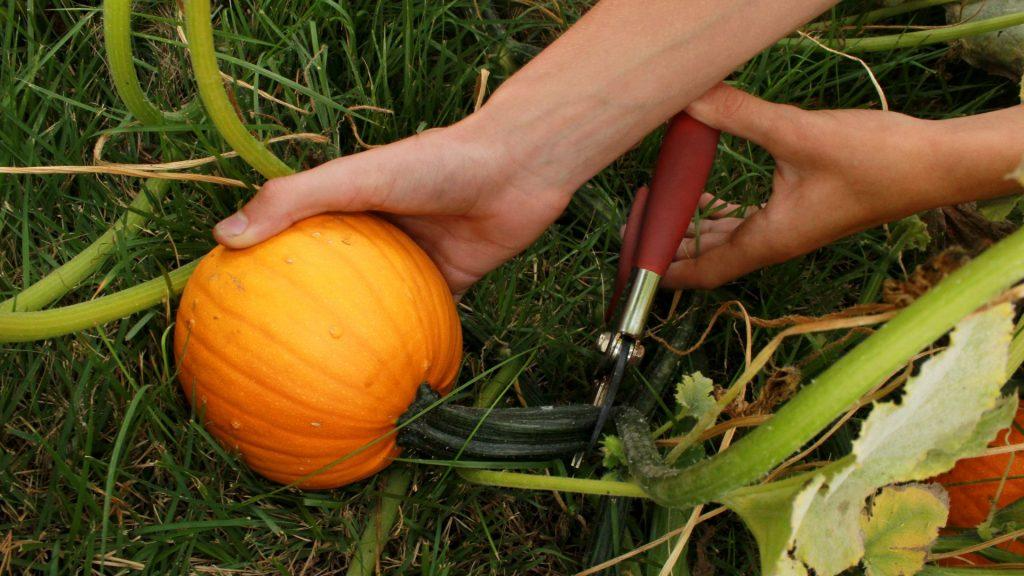
Timing is crucial when harvesting pumpkins, as picking them at the right moment significantly extends their storage life.
Let your pumpkins fully mature and develop their rich colour on the vine before harvesting in the autumn. It’s best to leave them on the plant as long as possible, but bring them in before the first frost. Frost-damaged pumpkins can’t be stored, so if frost is imminent, harvest them or protect them with straw, fleece, or cardboard.
Once you’ve picked your pumpkins, it’s time to cure them. Lay them in the sun for 7 to 10 days outdoors or in a greenhouse or cold frame. This curing process hardens their skins, which is crucial for long-term storage. You’ll know they’re ready when the rind loses its shine and becomes hard enough that you can’t scratch it with your fingernail. Additionally, check the curly tendrils on the vine near the pumpkin. When these tendrils turn brown and die back, it’s a good sign that the pumpkin is ripe.
When cutting the pumpkin from the vine, leave about 8-10 cm of stem attached to extend its shelf life. If early frost or bad weather threatens, harvest your pumpkins early and cure them indoors at temperatures between 27-29°C for about ten days. This helps harden the rinds further and heal any minor cuts or scratches.
Before storing, wash and thoroughly dry your pumpkins. To prevent rot, wipe them down with a weak bleach solution by mixing 2 tablespoons of bleach into 4 litres of water. Store your pumpkins in a dry, dark location with temperatures between 10-16°C. Arrange them in a single layer on bales of hay, cardboard, or wooden shelves, or hang them in mesh produce sacks. Avoid placing pumpkins directly on concrete as it can promote rot.
By storing them correctly, your pumpkins can last at least three and seven months. Regularly check for any signs of soft spots or decay. Remove any rotting pumpkins immediately to prevent the spread of rot to others. Following these steps will ensure you can enjoy your pumpkins well into winter.
Pumpkin and Squash Companion Plants
Companion planting is a fantastic organic gardening technique where specific plants are grown together to naturally enhance pest control, attract beneficial insects, improve nutrient uptake, and boost crop production. An example of companion planting is The Three Sisters Garden, which includes corn, beans, and squash. Corn provides shade for squash and deters the squash vine borer beetle. Learn more about The Three Sisters from the RHS. Some plants emit scents that repel or confuse pests, making them less likely to attack your garden vegetables. In contrast, others attract helpful insects like ladybugs, bees, and butterflies, which assist with pollination and controlling harmful bugs. Additionally, tall plants can provide shade for smaller ones, acting as natural supports, and certain crops can improve soil quality by fixing nitrogen and aerating the soil with their diverse root structures. This practice not only maximises garden space and productivity but also enhances the flavours of nearby plants and protects your garden from wind and soil erosion.
Regarding pumpkins, several companion plants can significantly benefit their growth. Beans improve soil nutrients, borage attracts beneficial insects, and buckwheat draws pests away from squash. Catnip repels various pests, corn provides shade and deters vine borers, while dill attracts beneficial insects. Other excellent companions include legumes (peas) for nitrogen fixation, lemon balm for repelling squash bugs, marigolds for deterring beetles, and sunflowers for shade. Nasturtiums attract pollinators and deter pests, radishes break up soil and repel squash bugs, and chives repel pests and attract pollinators. However, avoid planting pumpkins near fennel, potatoes, and sweet potatoes, as these can inhibit pumpkin growth by competing for nutrients and space. Choosing the right companions can create a healthier and more productive garden, making your gardening experience more enjoyable and sustainable.
Read our article “Best Pumpkin Companion Plants for Your Garden: 10 Top Choices” to learn more.